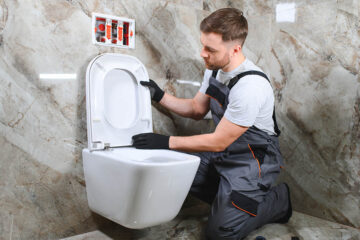
The flush plate and the bowl are the only visible parts of a wall-hung toilet. Also known as the control plate, it is responsible for activating the flushing mechanism. If it is not working properly or if you simply want to change to a new design, it does not necessarily need to be replaced by a professional – you can do the work yourself. Below is an explanation of how you can do it.
Removing the previous flush plate
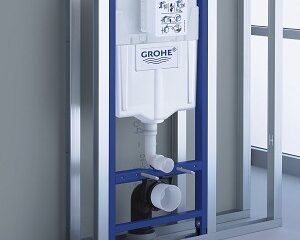
Like all the other components of a wall-hung toilet, the flush plate is installed on the support frame. If there is a problem with the flushing mechanism, repairs can be made by accessing the hatch located behind the control plate.
The flush plate usually consists of two buttons. The first button selects a reduced volume of water, while the other button selects a normal volume. This two-button system allows the water consumption to be optimised during the use of the wall-hung toilet. Pressing the buttons activates the flushing mechanism.
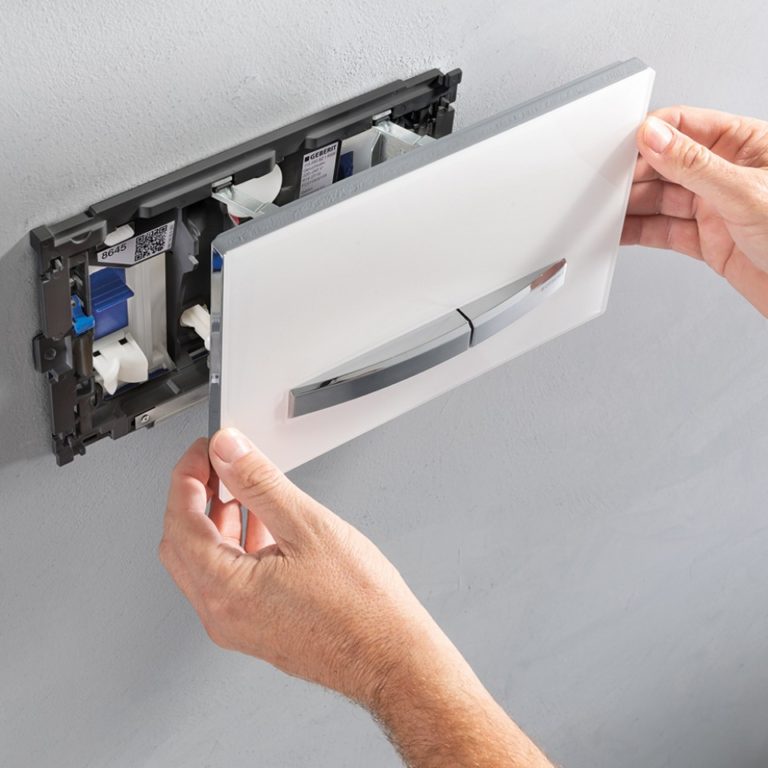
There are various reasons why you may need to change the control plate of a wall-hung toilet: either it no longer functions properly or you want to give your bathroom a new look. To dismantle the flush plate, all you need is a screwdriver. First of all, you have to remove the control plate with your hands. It is not necessary to use a tool. Then use the screwdriver to remove the support frame from the plate.
In case of toilet flush maintenance
You can take advantage of this procedure to perform maintenance on the toilet flush, which can be very useful if you want to prevent rapid wear and tear of the mechanism. After removing the support frame from the control plate, you have immediate access to the internal control mechanism. Simply remove it to reach the flush mechanism.
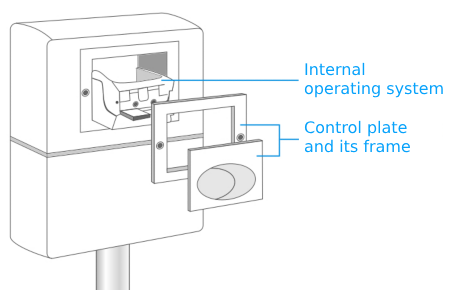 To do this, you will need both a socket wrench and a monkey wrench. The socket wrench allows you to turn off the water supply, while the monkey wrench is needed to remove the supply hose. All that is left is to remove the filling mechanism to gain access to the flushing mechanism. You can now carry out maintenance.
Mounting the flush plate on the support frame
It is important to note that the flush plate must be compatible with the model of your support frame. If you are using a Grohe support frame, for example, you must choose a plate of the same brand, otherwise it will not be compatible.
For the installation, you must first put on the new frame of the plate. Make sure that it is compatible with the hatch. Then screw it on with a screwdriver. Finally, insert the flush plate.
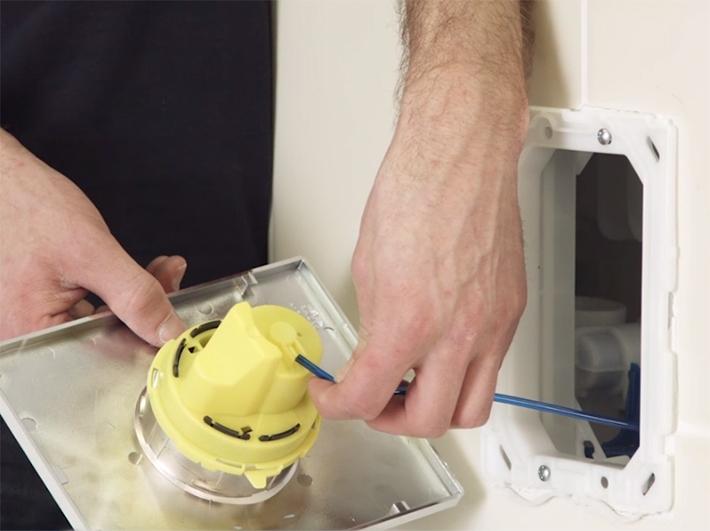
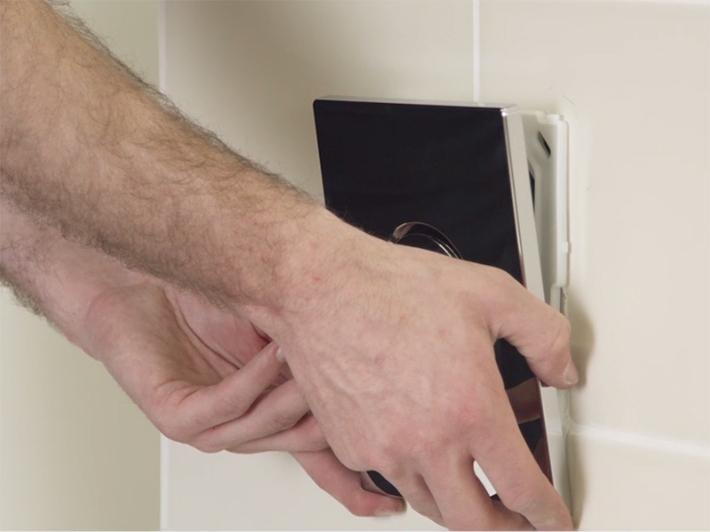
If you have carried out the flush maintenance before fitting the new flush plate, you will have to carry out all the operations previously performed, but in reverse.
